In this tutorial, we will learn how to use Spring Boot with Spring data JPA to save data into an H2 in-memory database and how to also how to query the data.
Final Project Structure : Will look like this

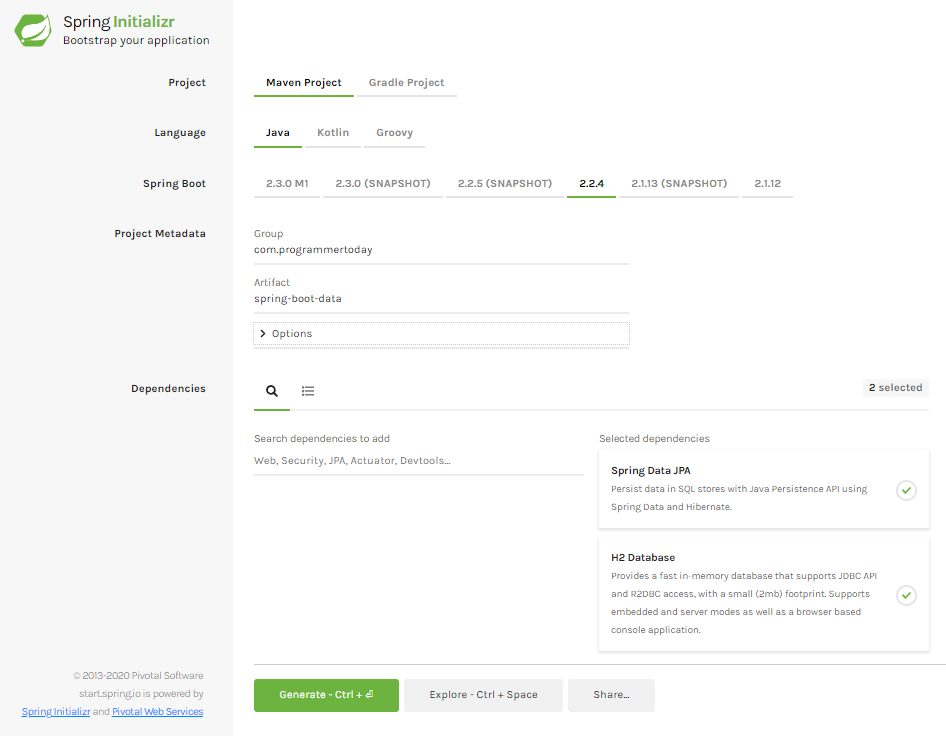
1. Add Maven Dependency Or use Spring Initializr
Add the 3 dependencies :
- Spring Data jpa
- H2 in-memory database
- Spring web – for tomcat
and generate the project if using spring initializr Or you can also add them directly to spring boot pom.
So the pom.xml file will look like this.
<?xml version="1.0" encoding="UTF-8"?>
<project xmlns="http://maven.apache.org/POM/4.0.0" xmlns:xsi="http://www.w3.org/2001/XMLSchema-instance"
  xsi:schemaLocation="http://maven.apache.org/POM/4.0.0 https://maven.apache.org/xsd/maven-4.0.0.xsd">
  <modelVersion>4.0.0</modelVersion>
  <parent>
     <groupId>org.springframework.boot</groupId>
     <artifactId>spring-boot-starter-parent</artifactId>
     <version>2.2.4.RELEASE</version>
     <relativePath/> <!-- lookup parent from repository -->
  </parent>
  <groupId>com.programmertoday</groupId>
  <artifactId>spring-boot-data</artifactId>
  <version>0.0.1-SNAPSHOT</version>
  <name>spring-boot-data</name>
  <description>Demo project for Spring Boot</description>

  <properties>
     <java.version>1.8</java.version>
  </properties>

  <dependencies>
     <dependency>
        <groupId>org.springframework.boot</groupId>
        <artifactId>spring-boot-starter-data-jpa</artifactId>
     </dependency>
     <dependency>
        <groupId>com.h2database</groupId>
        <artifactId>h2</artifactId>
        <scope>runtime</scope>
     </dependency>
     <dependency>
        <groupId>org.springframework.boot</groupId>
        <artifactId>spring-boot-starter-web</artifactId>
     </dependency>
     <dependency>
        <groupId>org.springframework.boot</groupId>
        <artifactId>spring-boot-starter-test</artifactId>
        <scope>test</scope>
        <exclusions>
           <exclusion>
              <groupId>org.junit.vintage</groupId>
              <artifactId>junit-vintage-engine</artifactId>
           </exclusion>
        </exclusions>
     </dependency>
  </dependencies>

  <build>
     <plugins>
        <plugin>
           <groupId>org.springframework.boot</groupId>
           <artifactId>spring-boot-maven-plugin</artifactId>
        </plugin>
     </plugins>
  </build>

</project>
2. Create : Spring Data Entity
Create an entity called Employee.class
package com.programmertoday.entities;

import javax.persistence.*;
import java.io.Serializable;

@Entity
@Table(name = "Employee")
public class Employee implements Serializable {

   private static final long serialVersionUID = -1798070786993154676L;

   @Id
   private Integer id;

   @Column(name="name")
   private String name;

   @Column(name="address")
   private String address;

   public int getId() {
       return id;
   }

   public void setId(int id) {
       this.id = id;
   }

   public String getName() {
       return name;
   }

   public void setName(String name) {
       this.name = name;
   }

   public String getAddress() {
       return address;
   }

   public void setAddress(String address) {
       this.address = address;
   }

}
3. Spring Data Repository
Create a Spring Data Repository Interface like below and go to the next step.
Here we created a Repository which Spring Data JPA has provided and extend a CrudRepository which provides us some boilerplate code and functionalities which helps us interact with the database just like a normal JPA or Hibernate would do.
package com.programmertoday.repositories;

import com.programmertoday.entities.Employee;
import org.springframework.data.repository.CrudRepository;

public interface EmployeeRepository extends CrudRepository<Employee,Integer> {
}
4. Connection with H2 in-memory database
1.> Just add the below 2 properties for h2 db in application.properties file :
spring.h2.console.enabled=true
spring.h2.console.path=/h2
2.> Also, Just For Testing Create two sample .sql scripts to create an Employee table and insert 2 records into that table on application load or startup.
Create 2 scripts as shown in the snapshot below:

Script.sql
Drop table if exists Employee;
Create table (id number , string name, string address);
Data.sql
insert into Employee (id,name,address) values (1,'John','US');
insert into Employee (id,name,address) values (2,'Mak','UK');
5. Run Main method – @SpringBootApplication
Now just open the main class and run it.
Voila !
Your SpringBoot Spring Data JPA application is up and running @ <localhost:port>
Default port will be 8080 [ example : localhost:8080 ]
When you run the main class of SpringBootApplication, you see the below log in the console which also tells you that the h2 in-memory data base is up and runnning at url “localhost:port/h2”
2020-01-26 21:11:55.948 INFO 22204 — [ main] o.s.b.a.h2.H2ConsoleAutoConfiguration : H2 console available at ‘/h2’. Database available at ‘jdbc:h2:mem:testdb’
Open h2 db : localhost:8080/h2


Summary
In this tutorial, we learnt about Spring boot connectivity with H2 DB an in-memory database along with Spring DATA JPA as a JPA framework. We connected with H2 in-memory database to save/persist data into the database and it’s easy to test.
Hope you liked it !
